
5 Ankle Drills for Walking on Uneven Ground
 7
Mins Read
Have you ever stepped off a smooth sidewalk onto a grassy path and felt your ankles engage? That small jolt of effort is real. Walking on uneven ground asks more of your legs than a flat floor does, even when the bumps are tiny.
How tiny? In a University of Michigan study of 11 healthy young adults, a treadmill surface with height changes of up to 2.5 centimeters, about an inch, raised the energy cost of walking by 28% compared with a smooth, flat one. The researchers suggested that this is likely comparable to the bumps on trails, grass, or uneven pavement. Their volunteers’ muscles also braced harder around the ankle and knee, working against each other to steady the joints for each step.
The good news is that navigating rough ground is something you can practice. Try these five drills in order, starting with a seated band exercise and ending with a real walk on grass or gravel. If you already feel solid on your feet and none of the cautions below apply to you, you can start at number three.
You’ll also like:
- 7 Exercises Runners and Hikers Should Do to Protect Their Knees
- 7 Exercises for Neuropathy in Your Feet You Can Start Sitting Down
- Why Tai Chi Walking Might Be the Best Thing You Can Do for Yourself
What Your Ankles Do on Rough Ground
On a flat surface, every step lands the same way. Your body runs the pattern on autopilot.
Uneven ground breaks the pattern. One step lands in a dip, the next on a root, and your foot has to settle at whatever angle the ground offers. Your ankle takes that tilt first. In the Michigan study, the ankle’s angle varied more than twice as much from step to step on a bumpy surface as on a smooth one.

That’s what walking on uneven ground demands: constant small corrections, made fast. The drills below work on two parts of that movement: the muscles around the ankle first and then the habit of reading the ground before your foot lands.
Before you start: do the standing drills next to a wall, counter, or sturdy chair. The NHS suggests the same setup for its balance exercises, along with practicing at least twice a week.
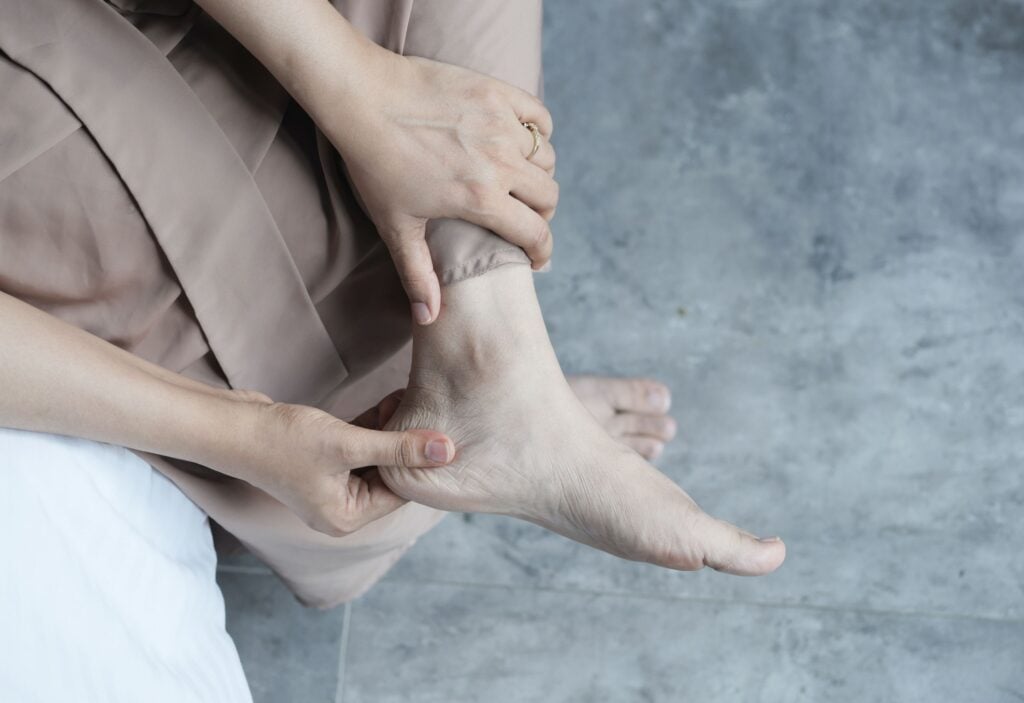
Check with a doctor or physical therapist before attempting the standing drills if any of these apply: you’ve sprained an ankle recently, or more than once, or your ankle tends to give way; you have numbness or tingling in your feet, or neuropathy; you get dizzy spells or take medication that affects your balance; you have osteoporosis; you’re pregnant; or you’ve fallen in the past year. Wobbling is part of the practice. Sharp pain, or an ankle giving way, is a signal to immediately stop.
1. Banded Ankle Eversion
Run your fingers down the outside of your shin toward your outer ankle bone. The peroneal muscles run down this side of your lower leg, and their tendons cross the outer ankle. Their job is to turn the sole of your foot outward, a movement called eversion.
Why train these muscles? A rolled ankle usually goes the other way, with the sole tipping inward as you land on the edge of a rock or a curb. The peroneals work on the opposite side of that movement.
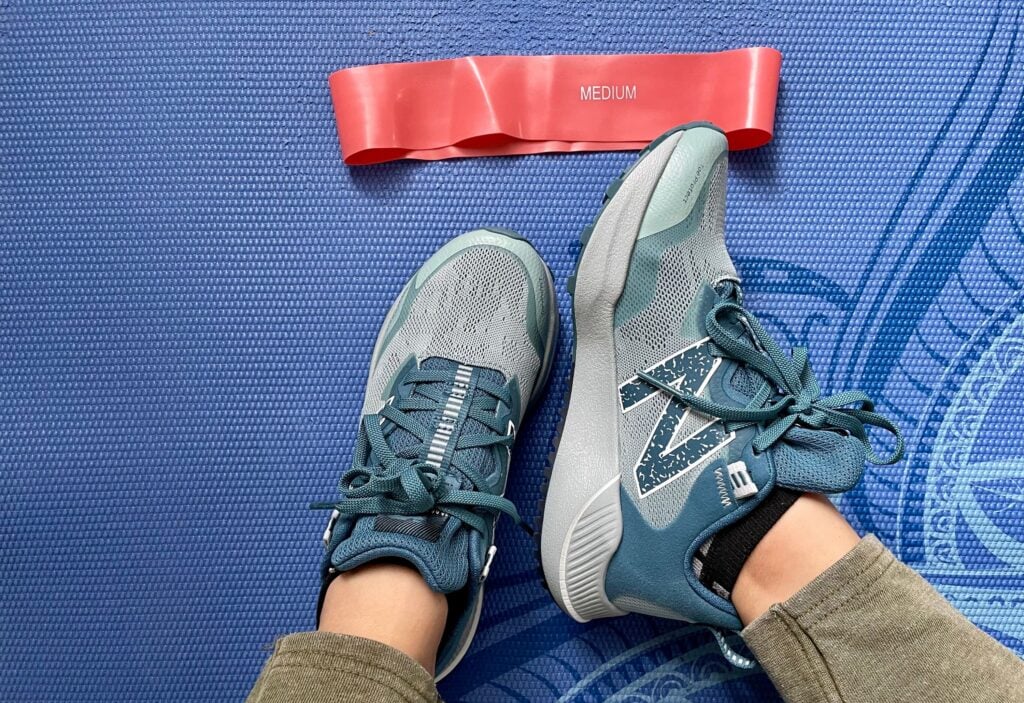
How to do it:
- Sit on the floor or a chair with one leg out straight.
- Loop a light resistance band around the outside of your forefoot. Anchor the other end to something solid on the inside of that foot, such as a table leg.
- Keeping your knee and shin still, turn the sole of your foot outward against the band. Pause, then return slowly.
- Do 10 to 15 on each side.
The movement is small. If your whole leg rotates, your hip has taken over. Keep the shin still and let the ankle do the work.
2. Clock Reaches
Let’s stand up and give the ankle something to react to.
How to do it:
- Picture yourself standing in the middle of a clock face. Balance on your right foot with a slight bend in the knee, one hand on the wall if you need it.
- Reach your left foot out and lightly tap the floor at 12 o’clock, straight in front.
- Bring it back.
- Tap at 3, across your body, then at 6 behind you, then at 9 out to your left.
- After two full trips around the clock, repeat on the other side.
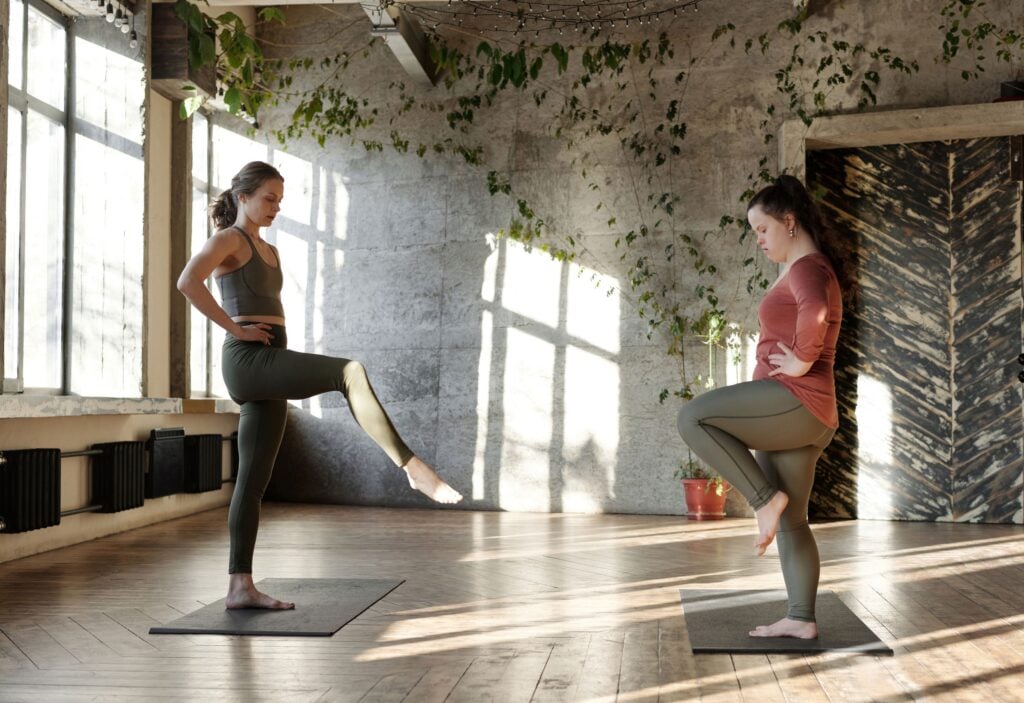
Remember to keep the tap light. The reaching foot shouldn’t take weight. Stay tall through your chest and keep your standing knee soft.
You’ll feel your standing ankle making constant adjustments, especially at 3 and 6.
That’s the point.
Each reach shifts your weight in a new direction, much like walking on uneven ground, where the path tilts one way and then another. To make it harder, reach farther. To make it easier, tap only at 12 and 9.
3. Step-Overs
On uneven ground, a toe that doesn’t clear a rock or root is how a trip starts. Your body knows this and adjusts, if you give it the chance.
In a study of 15 healthy young adults walking across a pit of loose river rocks, researchers in Texas found that the gap between the walkers’ toes and the ground mid-stride was about 3.8 times bigger than on level ground. They also bent their knees and hips more and landed with a flatter foot.
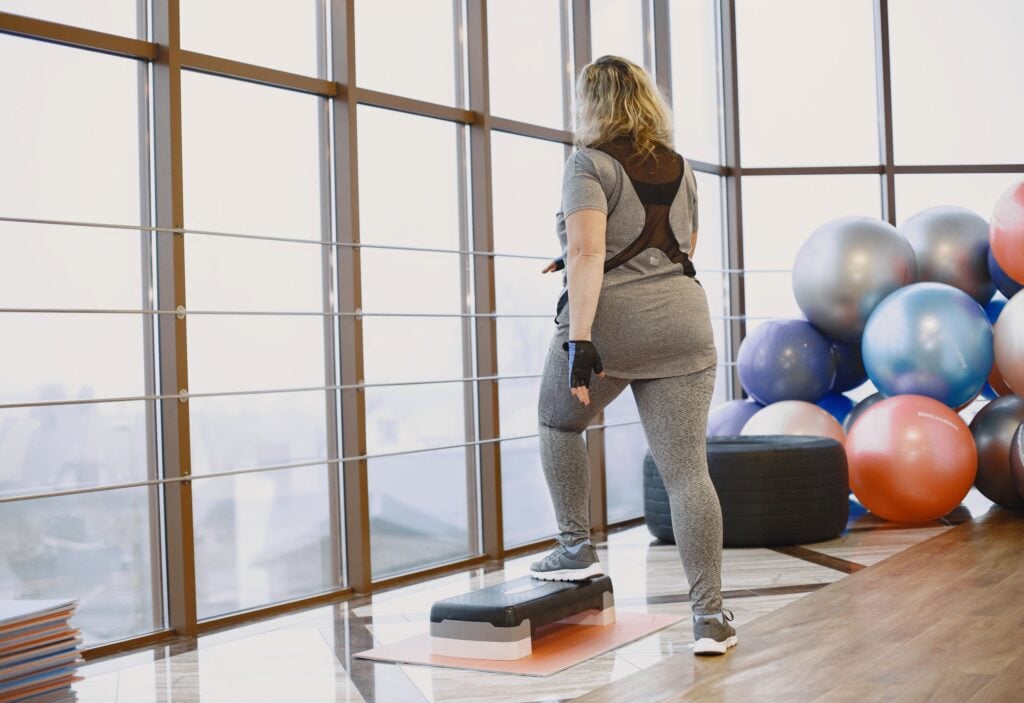
A step-over drill gives you a way to practice that higher, more deliberate step at home.
How to do it:
- Set up alongside a wall or counter, with a hand within reach.
- Lay out three or four low, soft obstacles in a line, about a stride apart. A rolled towel, a folded bath mat, or a pair of shoes will work. Avoid anything that can roll underfoot.
- Walk the line slowly, lifting each knee, so your foot clears the obstacle with room to spare.
- Set the whole foot down on the far side, rather than landing hard on your heel.
- Walk the line five or six times, turning at the end.
Once that feels easy, walk the line a little faster, still beside the wall. Look at the next obstacle, not straight down at your feet.
4. Cushion Stepping Stones
This is the drill that brings the trail indoors.
Lay four to six firm sofa cushions and folded towels in a loose path on a carpeted floor, close enough that you can step from one to the next. Put a non-slip rug pad or yoga mat under them, and press each one with your foot before you start. If a cushion shifts, take it out. Keep the heights low and mix the firmness, so every landing feels a little different, the way it would outdoors.
How to do it:
- Set the path up alongside a wall or counter, and keep a hand on it for stability
- Step slowly from one cushion to the next, letting each foot settle before you shift your weight onto it.
- At the end, step off onto the floor, turn and walk back.
- Do five or six passes.
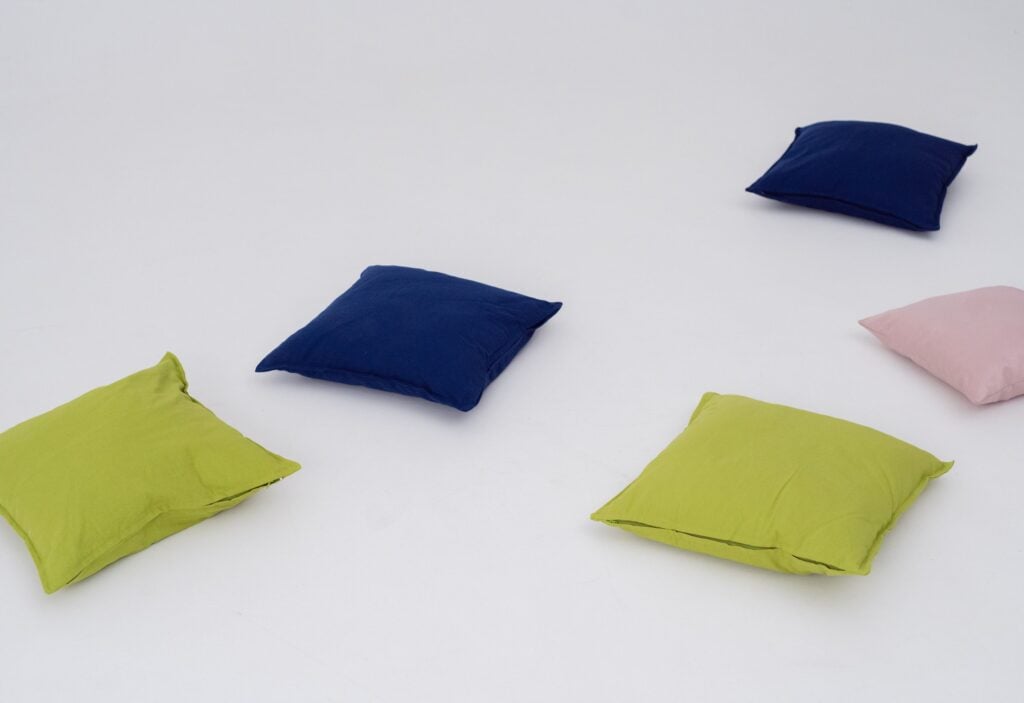
Expect the first few to feel clumsy. In a 2019 study in the Journal of Experimental Biology, 11 healthy young adults spent 12 minutes walking on an uneven treadmill surface. At first, they walked cautiously, with shorter, wider steps. By the end, their steps had lengthened, though they were still shorter than on flat ground. Their bodies had started adjusting within a single session.
Rearrange the cushions every session so your feet can’t memorize the course.
Make It Harder: Carry Something
Real walks rarely happen empty-handed. Try this only once you can walk the course comfortably without leaning on the wall. Hold a light bag in the hand away from the wall, so your other hand stays free to reach out. The load sits on one side, so your body has to work to stay centered. Turn around and switch hands each pass.

5. The Short-Step Ground Walk
Now let’s take it outside. Find a stretch of grass, a gravel path, or a park trail with some gentle bumps, and walk it for five to ten minutes. Here are two habits that are worth trying while you’re walking on uneven ground.
Shorten your stride. It’s what people tend to do on rough ground anyway. The volunteers in both treadmill studies above took slightly shorter steps on the bumpy surface without being told.
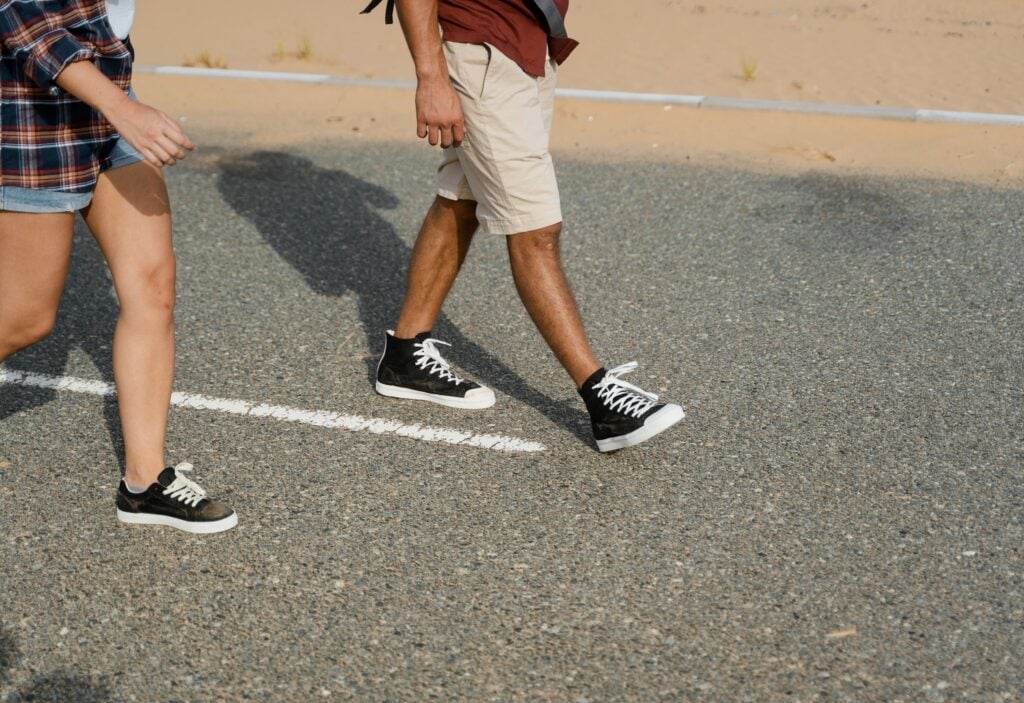
Look where you’ll step next. When University of Texas at Austin researchers tracked people’s eyes as they walked over flat, medium, and rough terrain, walkers on the rougher ground spent most of their time looking at upcoming footholds. On flat ground, they looked down less often. Let your eyes pick out your next few footholds rather than staring at your feet, and glance up now and then to check your route.
How to do it:
- Start on easy ground, like a mowed lawn, before moving to gravel or a trail.
- Walk at a relaxed pace with shorter steps than usual.
- Keep your arms free and relaxed.
- Wear supportive shoes with good grip.
Do this once or twice a week. It’s where the indoor work gets tested.
Final Thoughts
Walking on uneven ground is something you can practice at home before you meet it outdoors. The band and the Clock Reaches work the muscles around the ankle. The step-overs and stepping stones give your feet a surface that keeps changing, and the outdoor walk lets you try it for real.
Start with two or three of these drills, at least twice a week, and add the next one when the last one feels steady. Keep a hand near the wall until you don’t need it. If your ankle hurts, swells, or keeps giving way, see a doctor or physical therapist before you push on.