7 Exercises Runners and Hikers Should Do to Protect Their Knees
 7
Mins Read
7
Mins Read
Have you ever reached the bottom of a long trail descent with a dull ache around your kneecap? Often, the knee gets the blame; however, the trouble could start somewhere else: the hip above it or the ankle below it. If you run or hike and want to protect your knees, much of the useful work happens away from the joint itself.
Below is why that happens and seven exercises for the muscles that do the protecting. If you already know the anatomy, feel free to skip straight to the list.
You’ll also like:
- 5 Exercises To Help With Weak Knees
- This Clamshell Exercise Works The Outer Thighs and Your Glutes
- If You Can Hold This Exercise for This Long, Your Legs Are in Good Shape
Why Your Knees Pay for Your Hips and Ankles
Your knee is built mainly to bend and straighten. It allows a little rotation when it’s bent, but it handles twisting and sideways forces poorly, especially after multiple miles.
The joints on either side of it are more versatile. The hip moves in every direction. The ankle has to flex far enough for your shin to travel forward over your foot on every stride.
When one of those neighbors falls short, the knee picks up the slack. That’s why the work to protect your knees usually starts at the hip and the ankle.
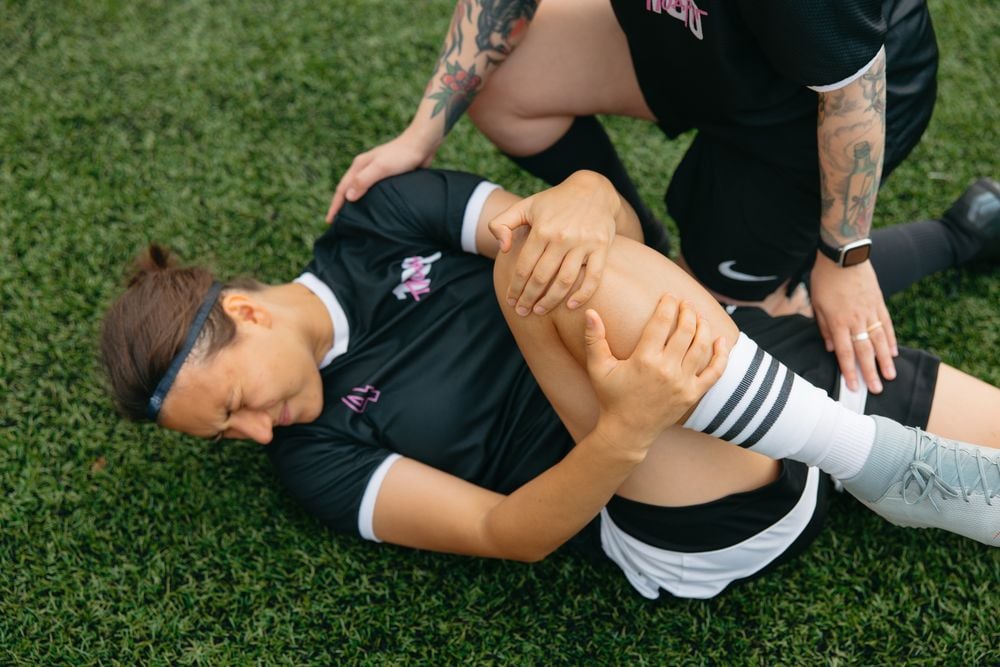
Weak hip muscles can let your thigh drop inward as your foot lands. A stiff ankle can cause the same thing from below. Physical therapists call this inward collapse dynamic knee valgus, and controlling it is the goal of most of the exercises on this list.
Downhill turns the volume up. In a biomechanics study of 12 healthy adults walking down a 19% ramp, researchers estimated the compressive force across the main knee joint at 7 times the body weight in men and 8.5 times in women. The same study found the hamstrings working almost continuously through each step, with the gastrocnemius, the larger calf muscle, acting as an important stabilizer early in the step.
That gives you the muscle list. Now let’s get to the exercises.
Before you start: these exercises are for knees that are healthy or, at most, only mildly achy after activity. If your knee is swollen, locks, gives way, or hurts sharply during a movement, or if you’re recovering from knee surgery, get it assessed by a physical therapist or doctor first. Muscle fatigue is normal. Sharp pain in the joint is a signal to stop.
1. Side-Lying Leg Raise
Let’s start with a muscle many runners overlook: the gluteus medius, on the outside of your hip. Its job is to keep your pelvis level and stop your thigh drifting inward when you stand on one leg. Running is basically a long series of one-legged landings.
For people who already have pain around the kneecap, the 2019 clinical practice guideline on patellofemoral pain recommends combining hip and knee exercises, with the hip work aimed at the muscles at the back and outside of the hip. While that guideline was written for treating existing pain, it still shows you where physical therapists look first.
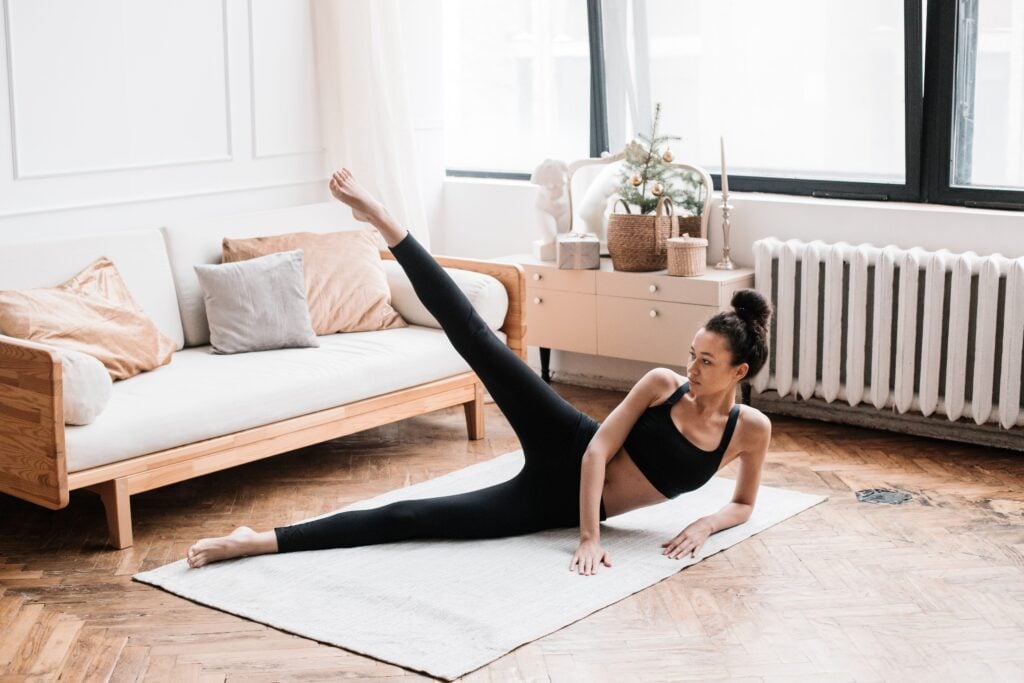
How to do it:
- Lie on your side with your bottom knee bent for balance and your top leg straight.
- Turn your top toes slightly toward the floor and lift the leg about a hand’s width, leading with the heel.
- Lower slowly. Keep your hips stacked so your top hip doesn’t roll backward.
The leg doesn’t need to go high. If you feel it in the side of your hip rather than the front of your thigh, you’ve got it.
2. Single-Leg Glute Bridge
The gluteus maximus is the big engine at the back of your hip. It drives every push-off, and together with its smaller neighbor, it helps keep your knee tracking over your foot.
Why one leg? Because a two-leg bridge lets your stronger side quietly do more of the work. On one leg, there’s nowhere to hide.
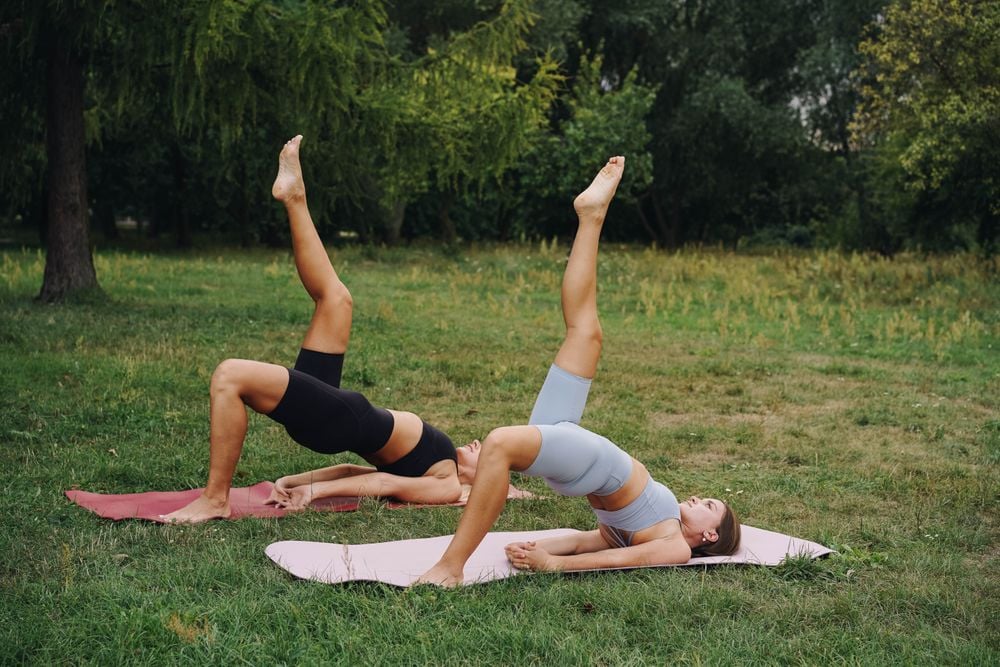
How to do it:
- Lie on your back with your knees bent and feet flat on the floor.
- Lift one foot and draw that knee toward your chest.
- Press through the heel of the planted foot and raise your hips until your body forms a straight line from your shoulders to your knees. Pause, then lower with control.
Pay close attention to your pelvis. If one side sags as you lift, that’s the side that needs the extra sets. Evening out that difference is a simple way to protect your knees from one leg doing more than its share on long runs.
3. Knee-to-Wall Ankle Rock
This is the classic half-kneeling ankle rock, done facing a wall so that you can see your progress.
Your ankle needs to bend forward, a movement called dorsiflexion, so your shin can travel over your foot. When it can’t, your body borrows the motion from somewhere else, and the knee often pays. A 2018 meta-analysis of 17 studies found that people whose knees collapse inward during movement tend to have less ankle dorsiflexion than people whose knees stay in line. The finding shows a link rather than cause and effect, but ankle range is easy to check and even easier to train.

How to do it:
- Kneel on one knee facing a wall, with your front foot flat on the floor a few inches from it.
- Keeping that heel down, drive your front knee forward over your middle toes toward the wall. Rock back. Repeat slowly.
- As it gets easier, move your foot a little farther from the wall.
Compare sides. If your knee reaches the wall easily on one side and not the other, you’ve found something worth fixing before your next long run.
4. Calf Raises, Two Ways
Remember the calf muscle from that downhill study? The gastrocnemius crosses the back of the knee as well as the ankle, which is one reason it can help steady the joint.
Calf raises are often done with straight legs. Add a bent-knee version, and you can also work the soleus, the deeper calf muscle underneath.
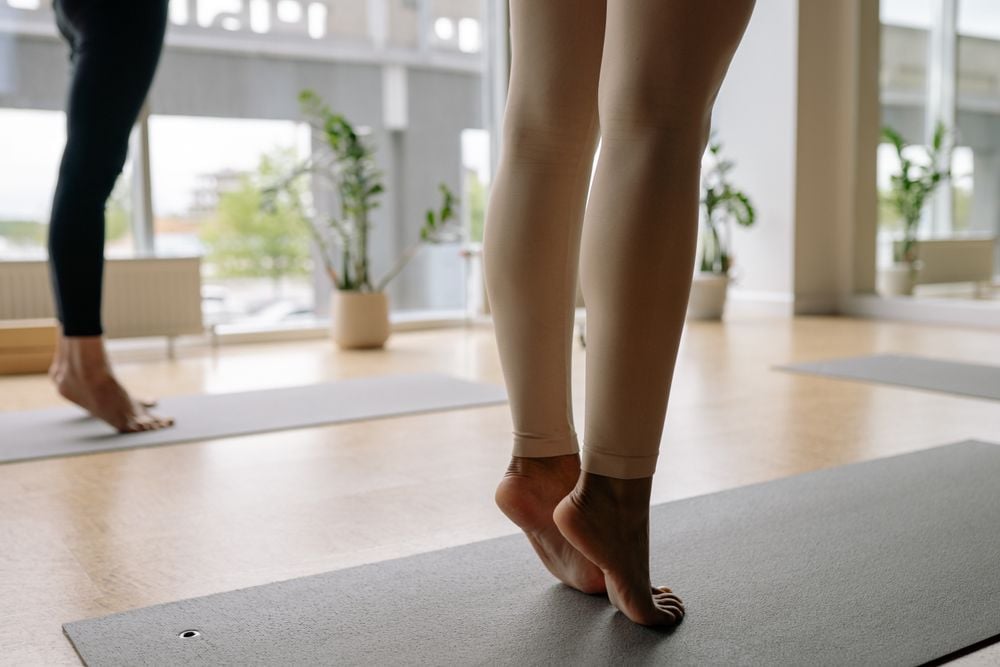
How to do it:
- Stand on the edge of a step with your heels hanging off, holding onto a rail or wall.
- Straight-knee: rise onto the balls of your feet, pause, then lower slowly until your heels dip just below the step.
- Bent-knee: repeat with your knees softly bent, keeping that bend the whole way up and down.
- When both feel easy, progress to one leg at a time.
Take your time on the way down. The lowering phase is the part that looks most like braking on a descent.
5. Slow Step-Down
If your routes are hilly, give this one priority.
Climbing asks your thigh muscles to shorten as they work. Descending asks them to lengthen under load, braking each step against gravity. That’s a separate skill, and plenty of runners and hikers only train the climb. It may be one reason a hilly route can feel fine on the way up and leave your knees grumbling on the way down.
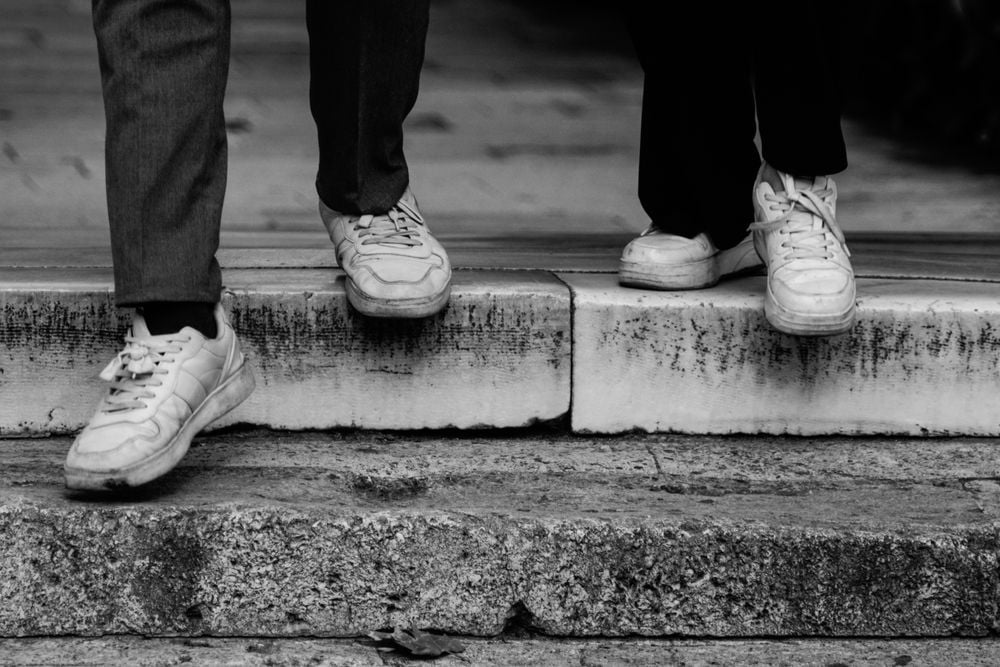
How to do it:
- Stand on one leg on a low step, with the other foot hanging off the side.
- Slowly bend your standing knee and lower the free heel down, taking three or four seconds. Tap the floor lightly. Don’t put weight on it.
- Press back up through the standing leg.
Keep your knee pointing over your second toe the whole time. If it drifts inward, use a lower step until you can control it. Practicing this control at home is how you protect your knees for the descents you can’t avoid.
6. Lateral Lunge
Running, walking, and hiking all move you forward in a straight line. Trails don’t always cooperate. Roots, loose rocks, and a quick sidestep to let someone pass all ask your legs to move sideways.
Muscles that never train in that direction aren’t ready when the moment comes. The lateral lunge works your inner thighs and glutes in the sideways plane that your usual training skips.
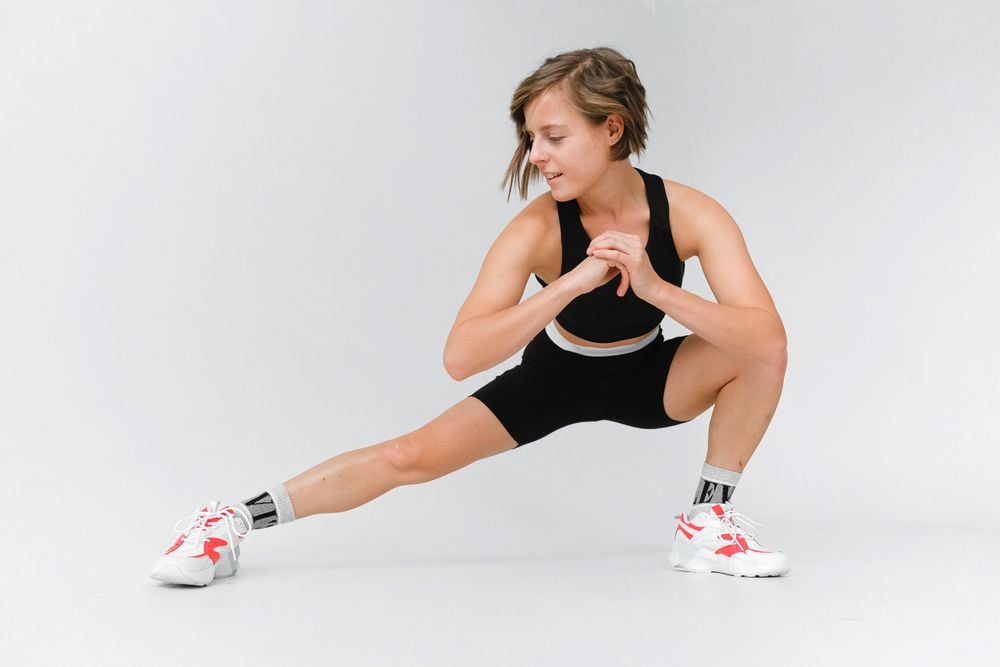
How to do it:
- Stand with your feet together.
- Take a wide step to one side, sit your hips back, and bend that knee, keeping the other leg straight.
- Keep the bent knee in line with your toes and your chest up, then push back to the start.
Start shallow. Depth comes with practice, and there’s no prize for going deep on day one. If your inner thigh feels tight, hold the bottom position for a breath before you push back.
7. Single-Leg Romanian Deadlift
The hamstrings run down the back of your quad and across the knee. In the downhill study, hamstrings were active throughout almost the whole step, and the researchers concluded that this activity gives the joint some stability.
The single-leg deadlift trains them while your hip muscles work to stop your pelvis from twisting. Of everything on this list, it comes closest to the balance demand of uneven ground.
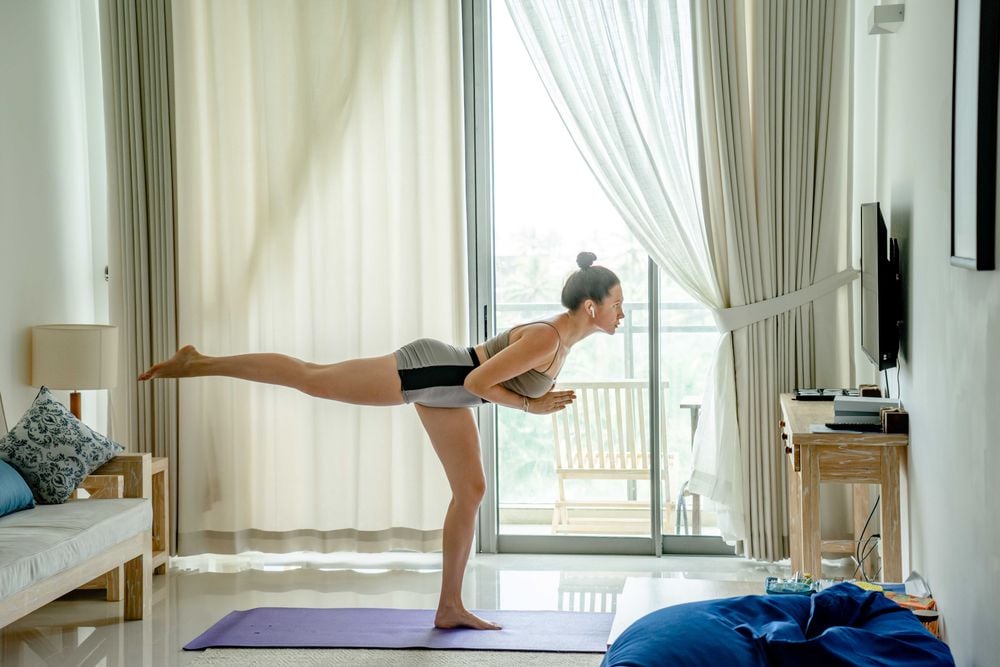
How to do it:
- Stand on one leg with a soft bend in your knee.
- Hinge forward from your hips, letting your free leg reach back behind you, until you feel a stretch in the back of the standing quad.
- Keep your hips level and square to the floor, then return to standing.
If needed, hold onto a wall or chair at first. Once you can do it without wobbling, add a light dumbbell in the opposite hand.
Final Thoughts
Knee pain on the trail is often a message from somewhere else. Strong hips keep your knees from caving in. Mobile ankles and trained calves let the lower leg do its share, and strong hamstrings help steady the joint when you’re braking downhill. Most of this list works on the joints and muscles around the knee, so it gets support from above and below.
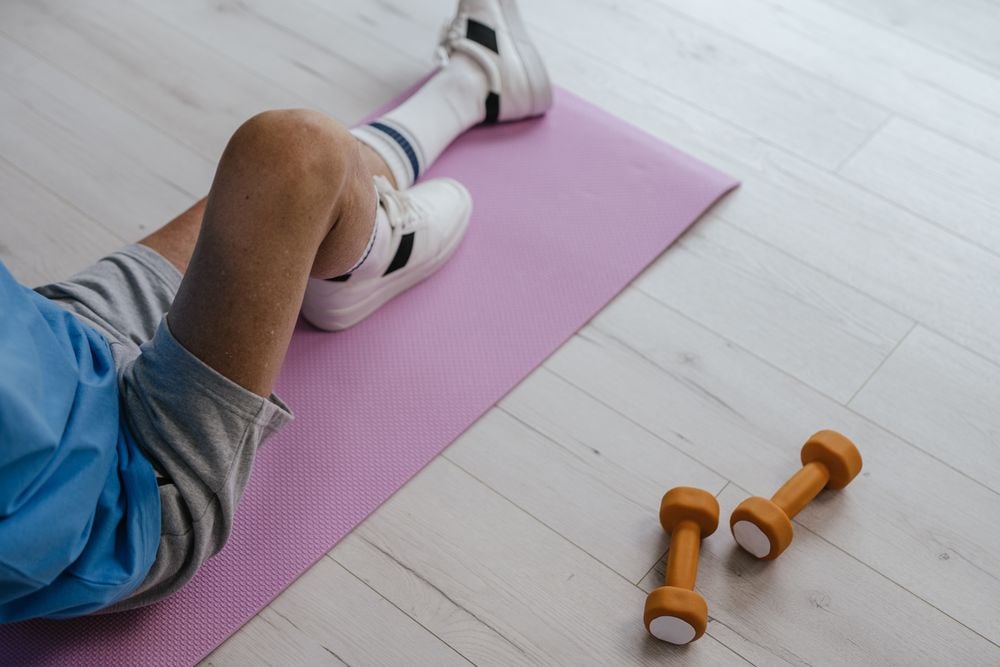
You don’t need to do all seven every day. Pick two or three after your easier runs or walks and rotate through the list across the week, giving the slow step-down a regular slot if your routes are hilly. If knee pain sticks around or gets worse despite training, see a physical therapist, who can assess what’s causing the discomfort. Done consistently, these moves help protect your knees so you can keep running and hiking for years.