7 Side-to-Side Exercises Your Hips Need That Squats Don’t Cover
 7
Mins Read
If you look at a typical workout, almost everything travels forward and back. Squats, lunges, deadlifts, the treadmill. Real life is messier than up and down. You step sideways off a curb or twist to grab a bag from the back seat. Lateral exercises train your hips for those moments, and a routine built on squats and lunges can leave them out completely.
That’s a gap worth closing.
Your hips can move in every direction. The muscles on the outside of the hip, led by the gluteus medius, keep your pelvis level whenever you stand on one leg. The inner-thigh muscles, the adductors, pull your leg back toward the middle and steady you when you shift your weight. Train only forward and back, and both groups get less work than they should.
Below are seven lateral exercises you can do at home. The first gets the most space, because it trains the skill the other six support: catching yourself when you get pushed sideways. The rest are quick hits you can slot into any workout.
You’ll also like:
- 7 Exercises Runners and Hikers Should Do to Protect Their Knees
- Say Goodbye to Hip Stiffness: 6 Quick Mobility Routines
- 7 Exercises for Neuropathy in Your Feet You Can Start Sitting Down
Before You Start
Several of these moves put you on one leg. Do them next to a kitchen counter or a sturdy chair you can grab for stability.
If you’ve had a hip replacement, check with your surgeon or physical therapist before trying any of these exercises. Several of them bring a leg across the middle of your body or combine a deep hip bend with rotation, including the crossover step, the curtsy lunge, the star reach, and the hip airplane. Some people are told to avoid those positions after surgery.

The same goes if you’ve fallen recently, get dizzy when you stand, or are pregnant. Ask your doctor or midwife which moves suit you. Muscle effort is fine. Sharp pain in a joint, or a sharp pull in your groin, means stop.
1. Side Step to Single-Leg Balance
This is the one to learn first.
Picture someone bumping into you on a busy train platform. Your body has a split second to throw a foot out to the side and catch your weight. That reflex step is a skill, and some older adults find it harder to do cleanly.
What the Research Found
Researchers in Toronto measured how people manage sudden lateral movements. In a study published in 2000 in The Journals of Gerontology, they stood healthy, active volunteers on a platform that jolted sideways without warning, then filmed how people recovered.
Adults aged 65 to 73 were much more likely than people aged 20 to 30 to take extra steps or use their arms to steady themselves. Crossing one foot over the other gave them the most trouble. When the volunteers were walking in place, the older group’s swinging foot hit their standing leg in 55% of trials. In the younger group, it only happened in 8%.
The authors pointed out that sideways falls are more common in older adults and are linked to a higher risk of hip fracture than falls in any other direction. They suggested that difficulty controlling sideways steps may be an early warning sign.
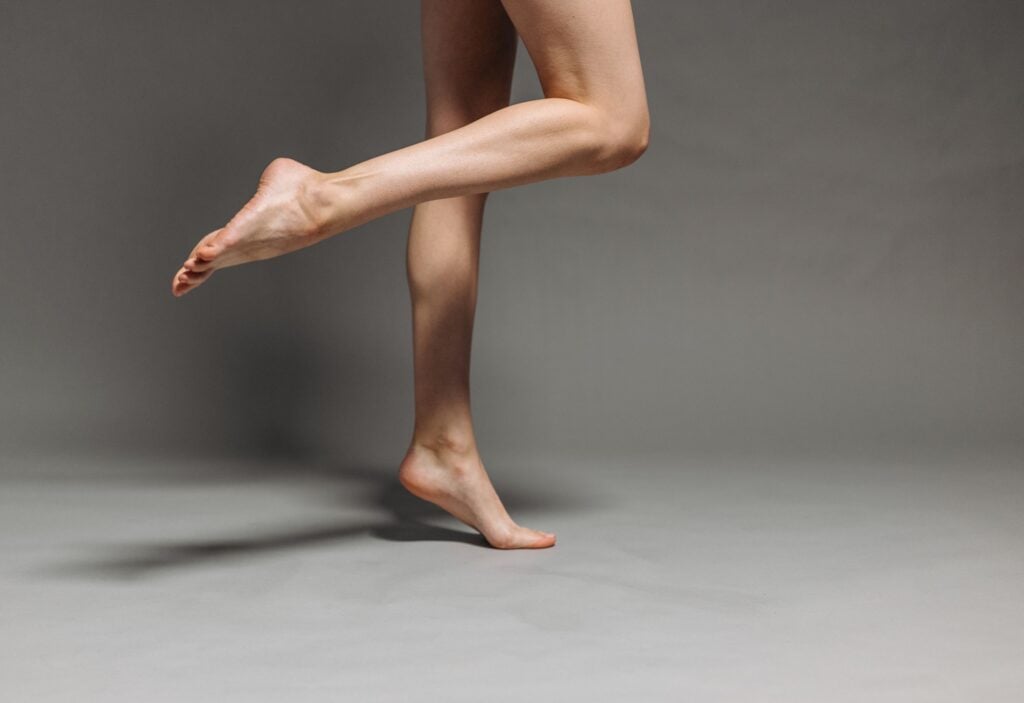
The study looked at older adults, but you don’t have to wait until 65 to start practicing the movement. This drill rehearses that sideways step under control. The study didn’t test any training, so treat it as practice for the movement, not a proven way to prevent falls.
How to Do It
- Stand side-on to a counter with your feet together and one hand resting on it.
- Take a quick, wide step to the side with the leg farthest from the counter.
- Land softly with your knee bent and your knee pointing over your toes.
- Lift the other foot off the floor and balance on the landing leg for two or three seconds.
- Step back to the start. Do six to eight reps, then switch sides.
Land quietly. A loud stomp means the floor took the impact, so slow the landing down to a controlled step.
Make It Easier or Harder
Easier: shorten the step and keep a hand on the counter the entire time.
Harder: step a little faster, let go of the counter, or turn your head slowly to one side while you hold the balance.
2. Slow Crossover Step
Remember the crossover step that gave the older group the most trouble in the Toronto study? This drill uses the same foot pattern, done slowly and with purpose.
Stand beside the counter. Step your right foot across in front of your left. Step your left foot out to the side. Now cross your right foot behind your left, and step your left foot out again. Keep going for ten steps, then travel back the other way.
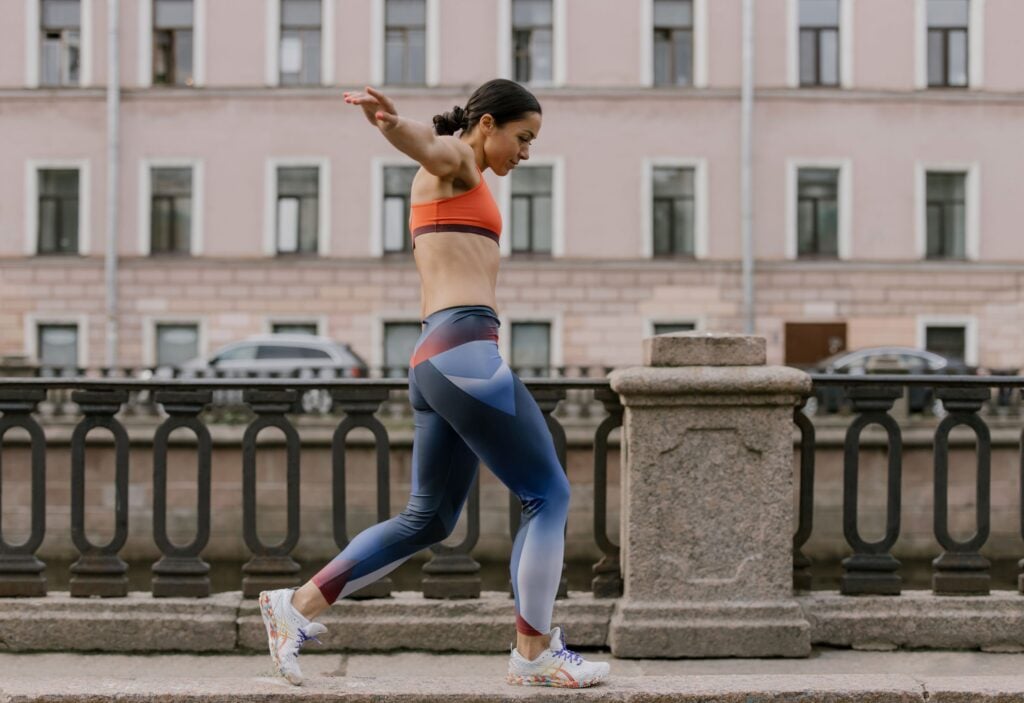
A few tips: go slow. Watch that your feet don’t clip each other. Speed comes later, once the pattern feels automatic.
It looks like a dance step. By the eighth rep, your hips will provide feedback on the motion.
3. Curtsy Lunge
Most lunges go straight back. This one goes back and across.
Stand tall. Step your right foot behind you and over to the left, as if you were curtsying. Bend both knees and lower until your front quad is close to parallel with the floor, or as low as you can maintain control. Push through your front heel to stand back up.
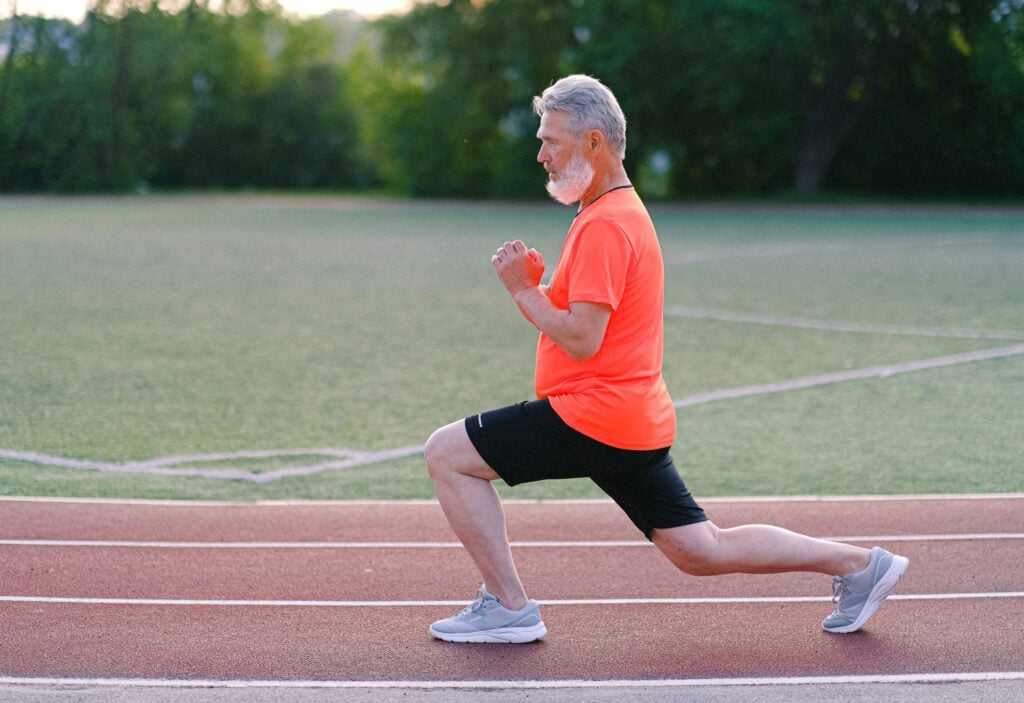
Keep your front knee pointing over your toes. It will want to cave inward, and resisting that pull is exactly what the outside of your hip is working on. Do eight to ten reps on each side.
Short on space? This one needs about a yoga mat’s worth of floor.
4. Star Balance Reach
Three directions. One setup.
Stand on your left leg with a soft bend in your knee and a hand near the counter. Reach your right foot forward and tap the floor lightly. Bring it back without putting it down. Tap out to the side. Bring it back. Tap behind you. That’s one round.
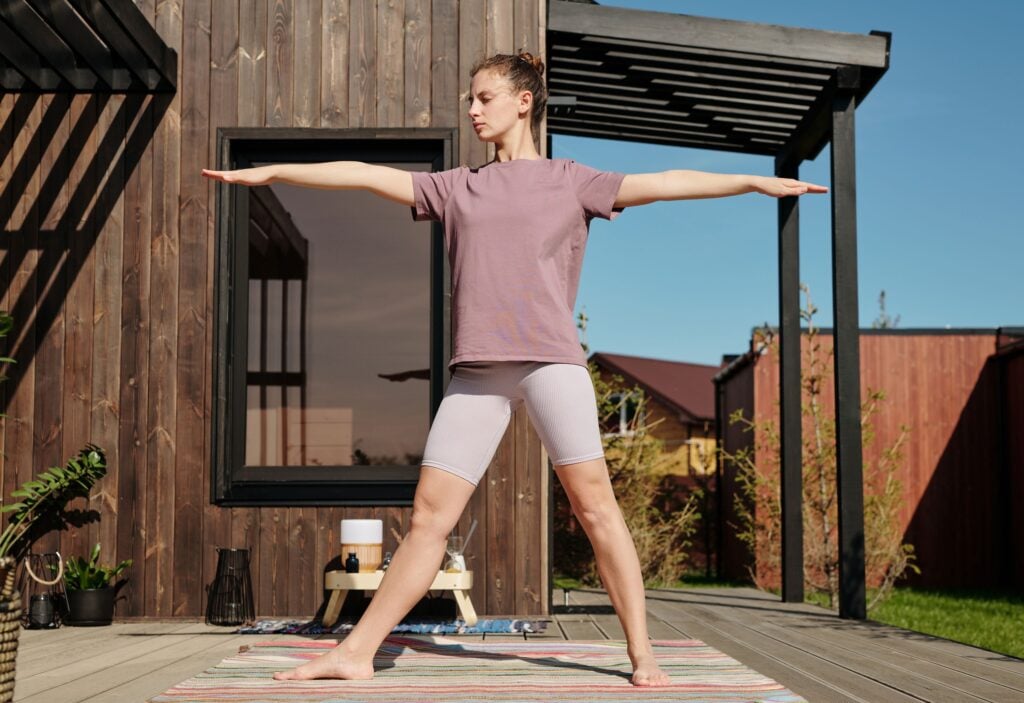
Do five rounds, then switch legs.
The standing leg does all the work here. Your hip, knee, and ankle will make small corrections as your weight drifts in each direction. If the wobble gets too big, tap closer to your body.
5. Standing Hip Airplane
Rotation is the direction that squat-and-lunge routines typically skip entirely.
Stand on your left leg, holding the counter. Hinge forward at the hips until your chest is angled toward the floor, and let your right leg float behind you. Keep your back long.
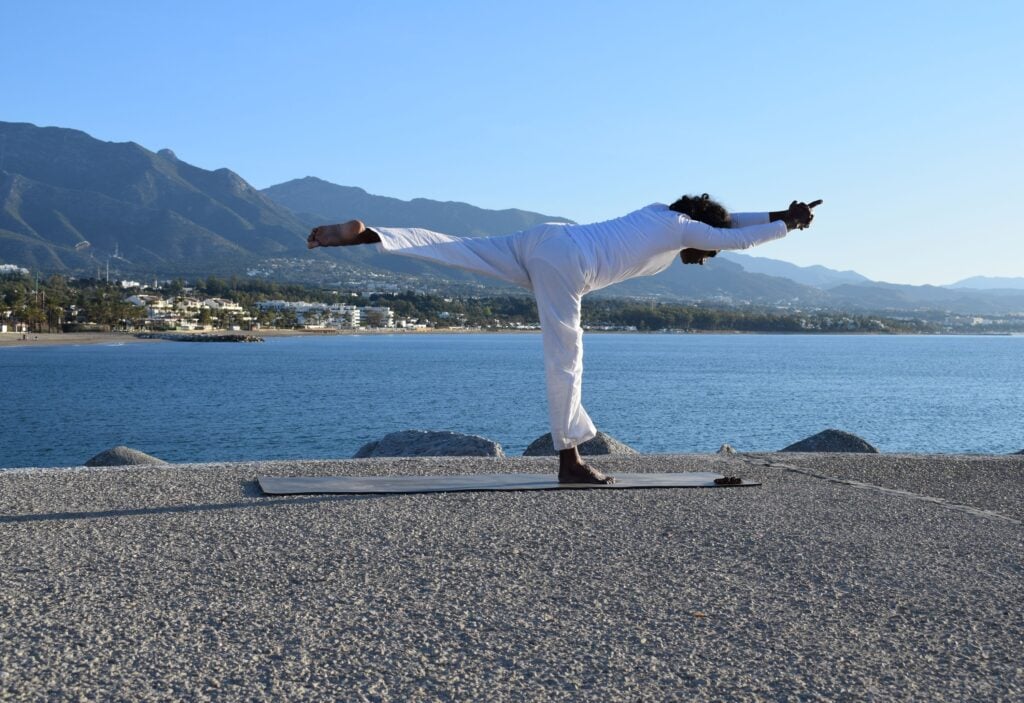
Now rotate your pelvis open, turning your right hip up toward the ceiling. Pause. Rotate it back down until your hips face the floor again. That’s one rep.
The range is small, and that’s fine. Start with five slow reps per side. You’ll feel this deep in the back and side of the standing hip, in muscles that rarely get asked to do anything.
6. Short Copenhagen Plank
Lateral exercises usually train the outside of the hip. This one targets the inside.
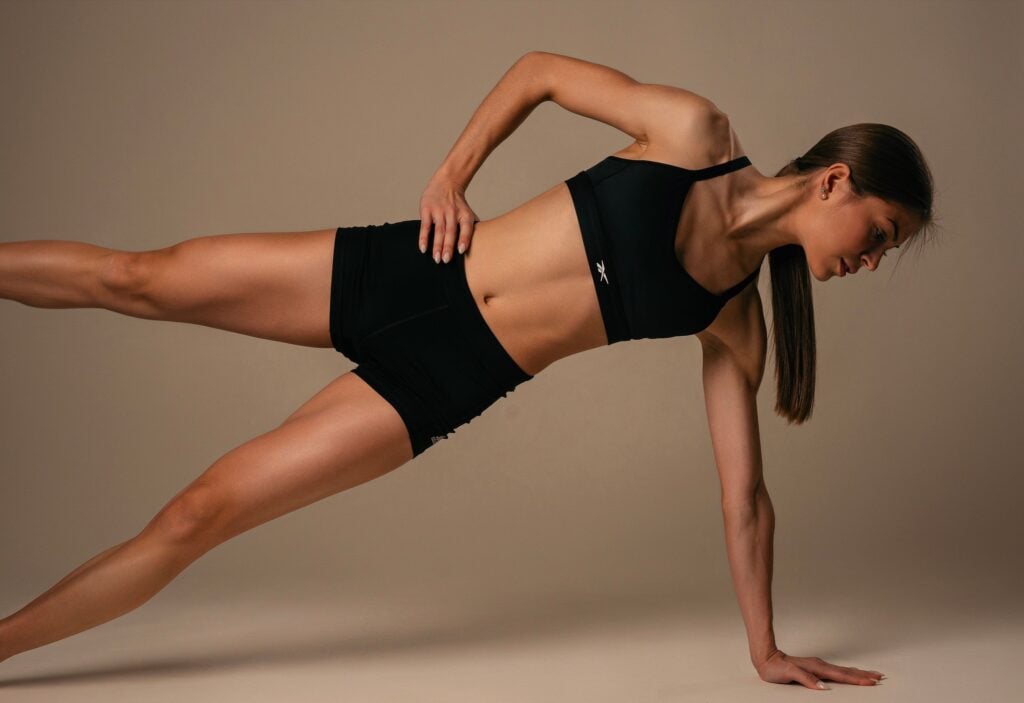
The full Copenhagen plank, where only the top foot rests on a bench, is tough, and the research on it comes from athletes. The short version supports your top leg at the knee instead, which makes it far more accessible.
Lie on your side next to a sturdy chair or low bench, propped on your forearm with your elbow under your shoulder. Rest your top leg on the chair seat, with the edge of the seat just above or at the inside of your knee. Let your bottom leg hang.
Press down through the top leg and lift your hips until your body forms a straight line. Hold for 10 to 20 seconds, then lower. Do two or three holds per side. Stop if you feel a sharp pull in your groin.
The research here comes from sports. In a 2019 trial in the British Journal of Sports Medicine, 35 semiprofessional men’s football teams in Norway were split into two groups. One group added a single exercise, the Copenhagen adduction, with three levels of difficulty, three times a week in preseason and once a week through the season.
On an average week of the season, 13.5% of those players reported groin problems, compared with 21.3% in the teams that trained as normal.
The chair version here may not match any of the trial’s levels exactly. And those were male athletes, so the result doesn’t transfer neatly to everyone. What it does show, however, is that one simple inner-thigh exercise, done consistently, made a measurable difference in that group.
Easier Version: Side-Lying Inner-Thigh Lift
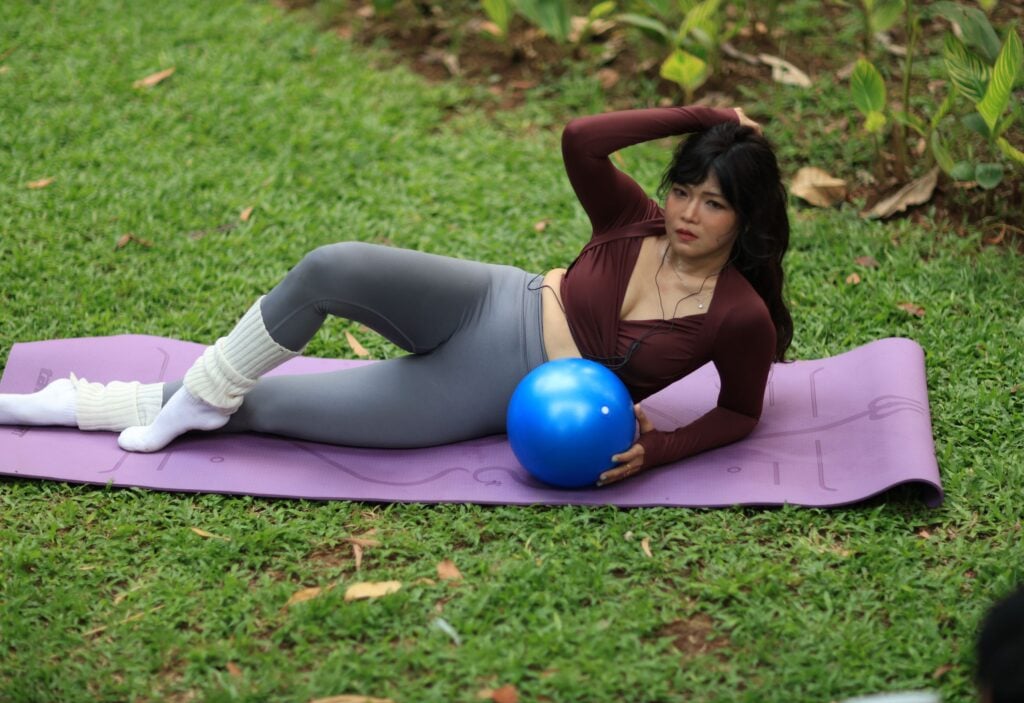
Lie on your side with your bottom leg straight. Bend your top leg and plant that foot on the floor in front of your bottom knee. Lift the straight bottom leg a few inches, pause, and lower slowly. Do 10 to 12 per side. Once that’s easy, move up to the plank.
7. One-Sided Bag Carry With Side Steps
The last move uses a shopping bag.
Load a bag or backpack with something moderately heavy, such as a few cans or bottles. Hold it in your right hand, arm straight by your side. Stand tall without letting your body lean toward the bag. Now side-step ten steps to the left, then ten back to the right.
Swap hands and repeat.
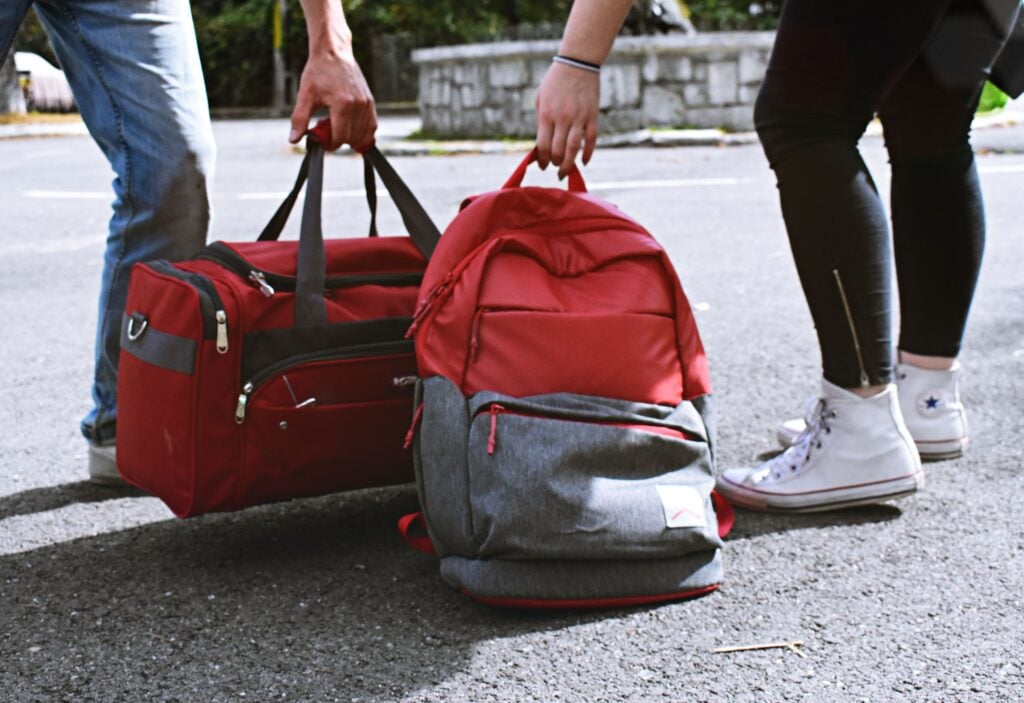
The weight on one side tries to tip you over, and every step to the side takes away part of your base. Your trunk and both hips have to work together to keep you upright. That’s what carrying groceries across a parking lot actually asks of you.
If you find yourself leaning, the bag is too heavy. Take something out and try again with a lighter load.
Final Thoughts
You don’t have to rebuild your whole routine to fit in lateral exercises. Pick three of these moves and add them to the end of a workout, or do them as a short session on their own two or three times a week. Keep the side step to single-leg balance in every session, and rotate the others. When a move feels easy and steady, use the harder version or add a few reps.
Sideways movement is easy to leave out of a training plan, but your hips deal with it every day, from a misjudged curb to a crowded platform. A few minutes of lateral exercises each week gives those muscles the practice they’ve been missing. If any move causes joint pain that doesn’t settle, or you have a hip, knee, or balance condition, a physical therapist can help you adjust the list to suit you.